How to Create Animated Explainer Videos with FlexClip
Animated explainer videos are an effective way to communicate ideas, showcase products, or explain concepts in a fun and engaging manner. Creating these videos has become significantly easier with tools like FlexClip, an online video creation platform. This article will guide you through the steps to create your own animated explainer videos using FlexClip.
Step 1: Sign Up or Log In
First, visit the FlexClip website and either log in to your account or sign up for a new one. The platform offers various plans, including a free option to get you started.
Step 2: Choose a Template
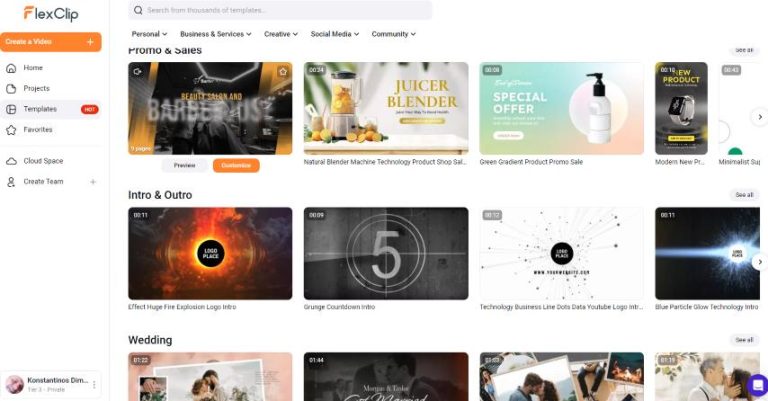
Once logged in, navigate to the template section. FlexClip offers a variety of pre-designed animated video templates tailored for explainer videos. Browse through the options and select one that resonates with your message or theme. This will save you time and provide inspiration for your project.
Step 3: Customize Your Video
After selecting a template, it’s time to customize it:
- text: Double-click on the existing text boxes to modify the content. Make sure your messaging is clear and concise.
- Colors and Fonts: Customize the colors and fonts to match your branding. FlexClip allows easy customization of design elements.
- Images and Videos: Upload your own media files or select from FlexClip’s vast library of stock images and clips.
- Animations: Choose from various animations and transitions that can enhance your video’s storytelling.
Step 4: Add Voiceovers and Music
To make your explainer video more impactful, consider adding a voiceover or background music:
- Voiceover: You can record your own voice directly in FlexClip or upload a pre-recorded file.
- Music: FlexClip provides a selection of royalty-free music that you can use in your projects. Ensure the music complements the tone of your video.
Step 5: Preview and Fine-Tune
After you have added all your elements, it’s crucial to preview your video. Check for any timings, transitions, or text that may need adjustment. Make sure your message flows smoothly and is easy to understand.
Step 6: Export and Share
Once you are satisfied with your video, click on the export button. FlexClip allows you to choose the resolution and format of your video before downloading it. After exporting,you can easily share your animated explainer video across social media platforms,your website,or via email.
Conclusion
Creating animated explainer videos with FlexClip can streamline your communication and engage your audience effectively. By following these steps, you can produce high-quality videos that convey your message clearly while also appealing visually. Don’t hesitate to explore the features that FlexClip offers to unleash your creativity.
For more facts and to explore the array of tools available, click to learn more about this amazing video creation tool: FlexClip A.I..


