How to Create Stunning Videos in Minutes Using FlexClip
If you’re looking to create high-quality videos quickly, FlexClip is a powerful online video maker that enables you to produce stunning videos without the need for extensive technical skills. Whether you’re making promotional videos, tutorials, or social media content, FlexClip offers an easy-to-use platform to meet your needs. This article will guide you through the process, providing actionable tips to help you create impressive videos in just a few steps.
Step 1: Sign Up or Log In
To get started with FlexClip, you need to sign up for a free account or log in if you already have one. Visit FlexClip and click on ‘Sign Up’ or ‘Log In’ at the top right corner.
Step 2: Choose a Video Template
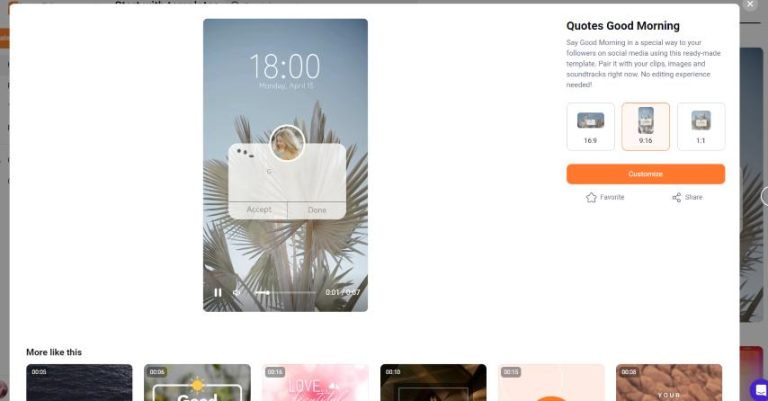
Once you’re logged in, you can choose from a wide range of professionally designed templates that suit your video’s theme. Templates are categorized based on various topics such as business, marketing, education, and more. Select one that resonates with your project or allows you to exploit your creativity.
Step 3: Customize the Template
With your chosen template open, you can start customizing it to fit your needs. Modify text, change fonts, and adjust colors to align with your branding. FlexClip allows you to:
- Add your own photos or videos by clicking on the uploading option.
- Incorporate stock media from their extensive library, which includes videos, images, and music.
- Edit the duration of clips and rearrange elements with simple drag-and-drop functionality.
Step 4: Add Text and Effects
Add engaging text overlays to communicate your message effectively. Choose from various text styles and animations to make your video more dynamic. FlexClip also enables you to apply filters and transitions to enhance the overall look of your video.
Step 5: Include Music and Voiceovers
Incorporating background music can dramatically amplify the emotional impact of your video. FlexClip provides a library of royalty-free music tracks. You can also upload your own audio files or record voiceovers directly within the platform.
Step 6: Preview and Export Your Video
Once you’re satisfied with your edits, click the ‘Preview’ button to see how your video will appear. Take this time to make any final adjustments. After previewing, hit the ‘Export’ button to render your video. Choose your desired resolution (including HD options) and download it directly to your device or share it on social media platforms.
Conclusion
Creating stunning videos in minutes is made easy with FlexClip’s user-friendly interface and robust features. Whether for personal or professional use, by following these steps, you can produce high-quality videos quickly and efficiently.
Ready to create your own stunning videos? Start using FlexClip today!
For more insights and information about FlexClip, check out the latest features and capabilities by clicking here.


